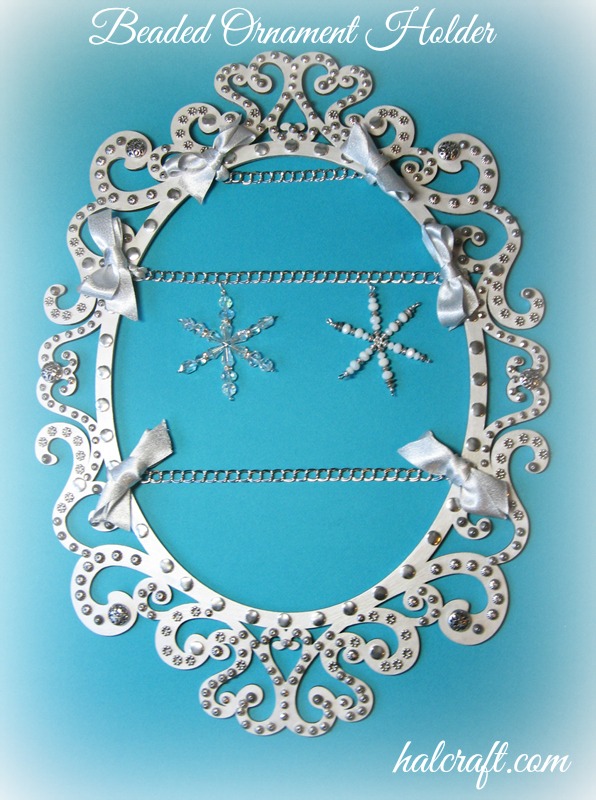
This beaded ornament frame holder is a fun and surprisingly relaxing project. There is something very calming about placing beads in precise lines. I'm guessing the experience is a lot like those coloring books that are so popular. If you need a break from the news and/or social media, put on your headphones with your favorite tunes or listen to a podcast or audio book while you bead this large oval frame. (If you're looking for suggestions, I listened to podcasts by The History Chicks, Happier, and Dinner Party Download, among others, while creating this project.) It will take you at least a few hours. There are more than 350 beads decorating this frame.
My Inspiration For This Beaded Ornament Holder
I love collecting ornaments. (Snowmen and snowflakes are my favorite.) I have a tiny metal tabletop tree that holds a few; sadly, many ornaments never make it out of their storage container. Part of the problem is that many (most?) ornaments need to be hung; they can't sit upright on their own. In the past I've tried to add an ornament here and there hung on a doorknob or drawer handle. That's okay, but it lacks the big impact of having a bunch of ornaments displayed together. I also had to be careful to choose ornaments that wouldn't get accidentally broken. Many traditional ornament holders are designed to sit on a tabletop, which is great if you have the empty table space available. I don't. I do, however, have lots of empty spaces on walls and doors that could be decorated. When I saw the big wooden frame at Michaels, I knew I wanted to create a Beaded Ornament Holder.
I took a ridiculous amount of photos of this project! Because it was larger than my normal photo cube, I ended up buying some special large backgrounds to use, mostly blues and grays.
Here's a close-up of the completed frame: 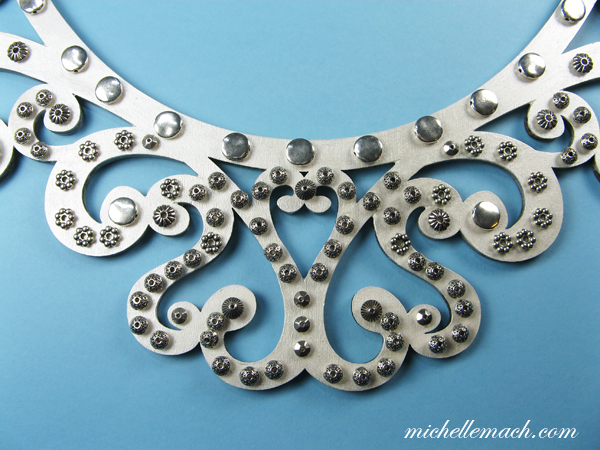
All these silver beads are Bead Gallery beads by Halcraft. They're available at Michaels.
Here's another angle: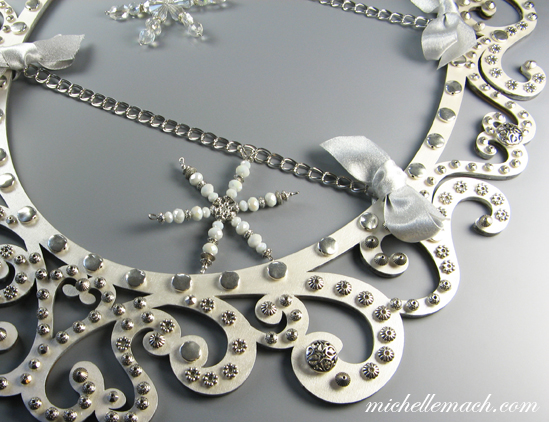
The chain I used is a large, double curb chain. I wanted something sturdy with large holes so that it would be easy to add and remove ornaments.
I used one of those temporary plastic hooks to hang it on the wall. The hook's clear, so it blends into the background. I can attest that it hung on the wall without any problems even though my walls don't have the smooth surface that was recommended on the package. The hook also came off the wall without any problems.
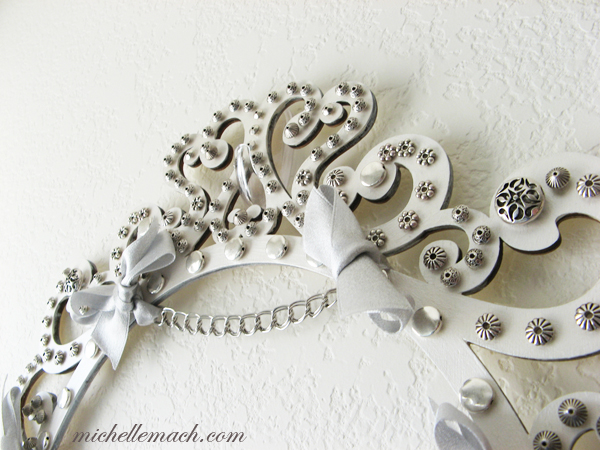
It's right now temporarily hung on my office wall. This gives you an idea of how large it is.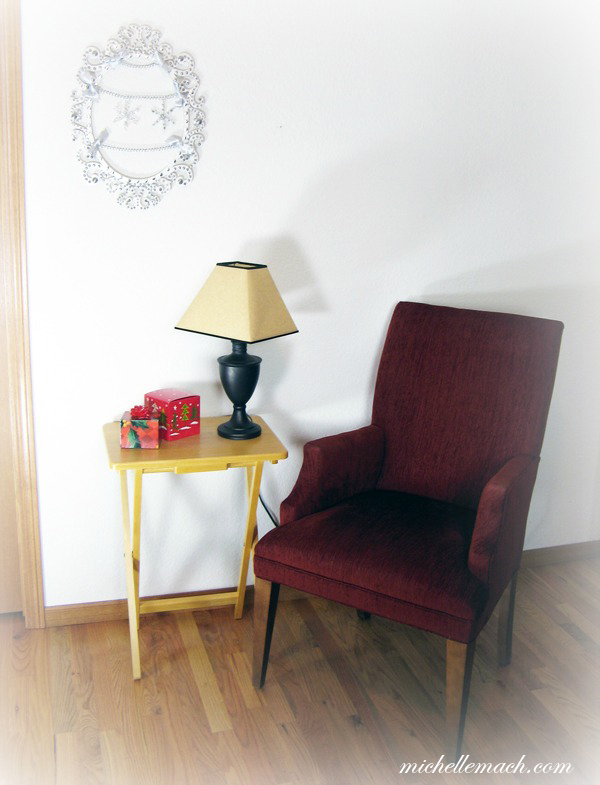
Design Tips: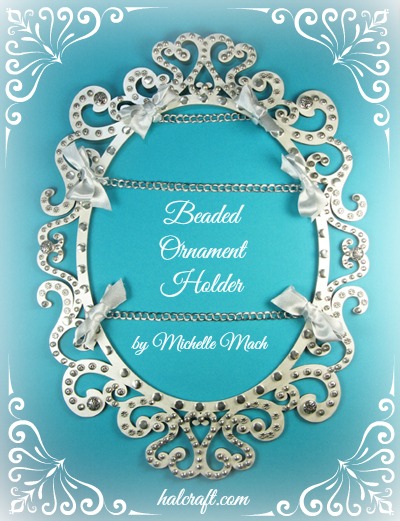
- For a no-mess project, use Glue Dots to attach each bead. I am seriously in love with this product. (And no, they're not paying me to say that. They have no idea who I am.) I normally have a love/hate relationship with glues; they're useful, but messy. This one is love/love all the way!
- Add sophisticated shine to the wooden frame with Martha Stewart's pearl multi-surface paint. You'll probably need several coats. The shine does make it more challenging for photos, but it is so beautiful in person.
- If you want to change up the holder every year, use ribbon to attach the chains. This way you can move the placement of the chains depending upon the size of your ornaments. I used a metallic silver ribbon, but you could add a punch of color such as red or another metallic such as gold.
- Short on time? This is a big frame (11" x 14") by ArtMinds. A smaller one (5" x 7") is available at Michaels, as well as some rectangular shapes.
- Flat, lightweight ornaments work especially well with this holder. (If you need other snowflake ideas, check out the wooden embellished snowflakes by Erin Prais-Hintz.)
- Using a monochromatic palette (such as all silver beads) makes this a faster project. No need to worry about coordinating colors; it's all about shapes.
Full instructions no longer available - sorry!
I hope this project brings you a few hours of peace and joy!